In This Post
The Fibroblast Plasma Pen is a groundbreaking technology that has revolutionized the way we rejuvenate skin. It’s the world’s most advanced, non-invasive device to lift, tighten, and revitalize dull, lifeless skin. It’s no wonder why more and more people are starting to make the switch to Plasma Pen.
But like with any other cosmetic procedure, it’s your responsibility to learn about what’s in store–especially when it comes to the healing process. How long will the area take to heal? Is there Plasma Pen aftercare that you need to know of? What about the things that you shouldn’t do during the healing process?
There are so many questions that need answering before you try out your new Plasma Pen - or make the decision to invest in one. So, in this article, we will cover everything you need to know about the Plasma Pen healing process!
What Is The Plasma Pen Healing Process?
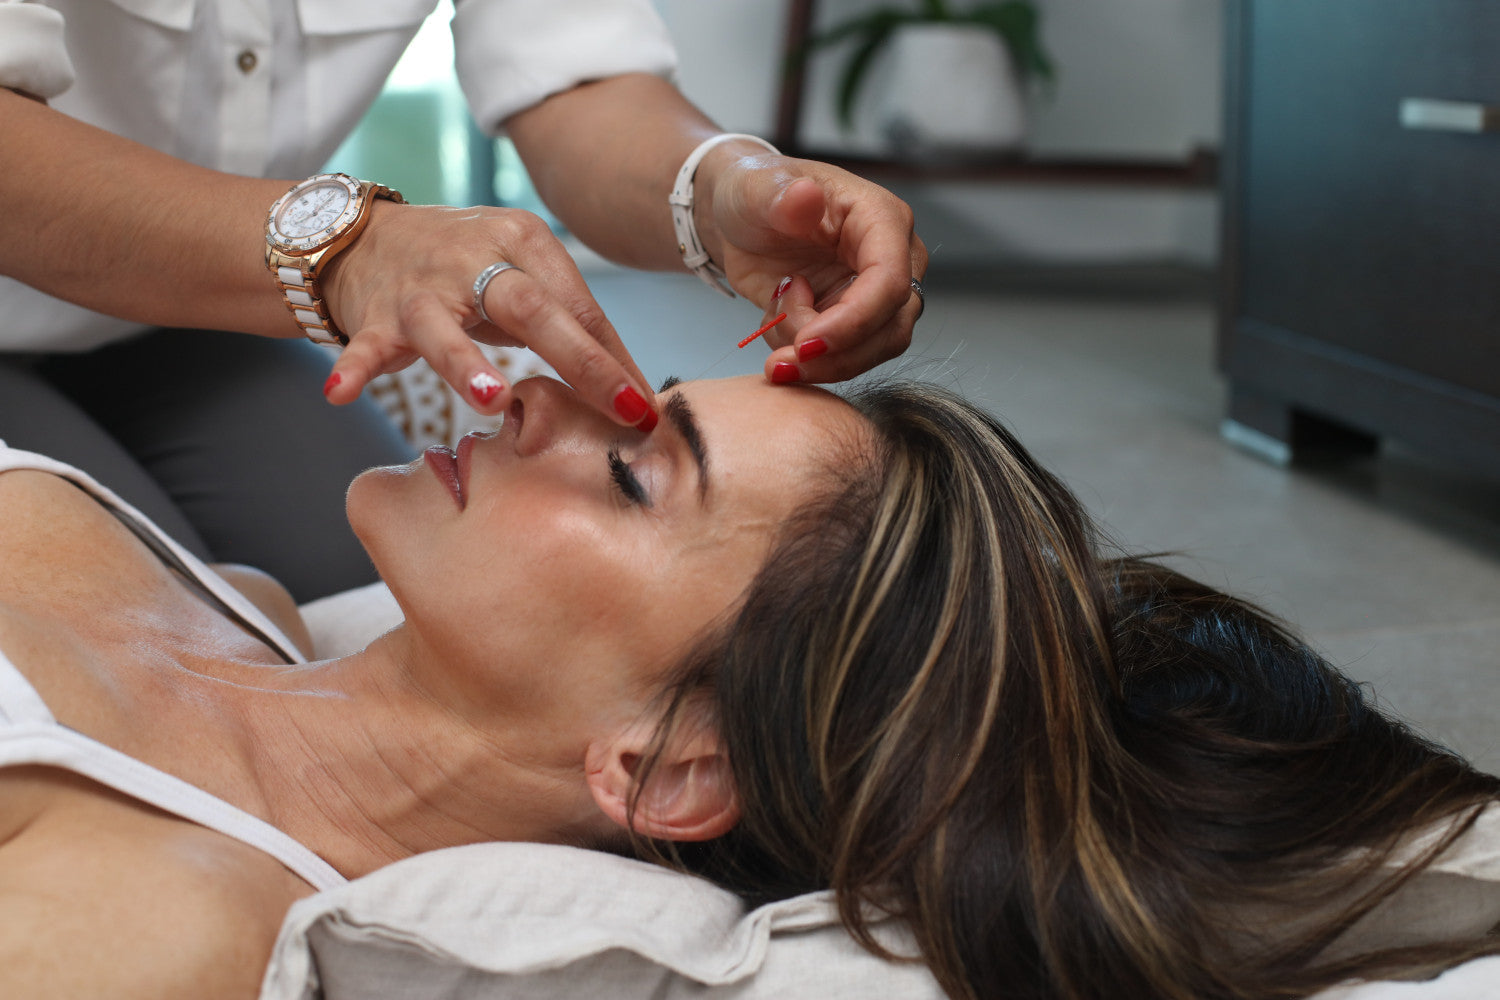
The Plasma Pen lifts, tightens, and rejuvenates the skin by stimulating the production of collagen and the important proteins in the dermis. The technology does this by converting electrical energy into electrostatic energy, which is channeled to the applicator tip via impulse. At the right distance (about 1mm) from the skin, oxygen and nitrogen combine while an arc of plasma discharges onto the skin due to the electrostatic energy.
This type of procedure is non-invasive and does not require anesthetics. However, you can expect some degree of swelling to occur. This is because the procedure technically burns the skin, with which swelling is an almost inevitable side effect. Tiny scabs will also form around the treated area, but don’t worry–these will disappear soon enough.
Check out our blog on Plasma Pen before and after to see what we’re talking about!
On average, the healing process takes about 8 weeks, although most patients will look ‘healed’ in as little as two weeks. Healing from a Plasma Pen procedure revolves around letting the skin naturally recover from the burn and the scabs fall off on their own. Sometimes, the use of products is recommended.
What Can I Expect During The Plasma Pen Healing Process?
Swelling is to be expected of any procedure that involves voltaic plasma. The formation of scabs is also a normal part of the healing process. Scabbing is your body’s natural defense mechanism against infections, blood loss, and debris.
In addition, you may also experience some pain and discomfort. However, Plasma Pen treatments are virtually pain-free for most patients. It depends on the area you are getting treated and your own pain tolerance. Nevertheless, pain and discomfort usually go away by Day 4.
To further understand what to expect during the Plasma Pen healing process, let’s look at the day-by-day timeline.
Plasma Pen Healing Process Day By Day Timeline:
Here, we will break down what happens in the first few days after a Plasma Pen session to the weeks that follow afterward. Keep in mind that the healing process is different for everyone, but in general, here is what you can expect:
The First Week
The first week of the healing process is perhaps the most difficult, as with any other cosmetic procedure. Here’s what the Plasma Pen healing process day by day looks like:
- Day 1
The following day after the treatment is when most of the swelling occurs. If you use your plasma pen under eye bags, you may have trouble opening your eyes as soon as you wake up. Furthermore, you may experience slight pain, discomfort, and a small amount of discharge. As the day progresses, the swelling will fade away gradually.
- Day 2
The swelling will be less than that of Day 1, although it may peak as soon as you get up in the morning. Slight pain and discomfort may also be expected.
- Day 3
By the third day, the swelling should start to reduce significantly. Scabs will start to form on the areas where the electrical plasma was applied. The pain and discomfort should have subsided substantially compared to days 1 and 2.
- Day 4
There should be no pain on the fourth day after the Plasma Pen treatment. There may still be swelling in some parts of the treated area, but only minor.
- Day 5
All swelling should be gone at this point. Some scabs may still be present.
- Day 6
The scabs will start to fall off on their own. It may be difficult to discern any changes at this time, so it’s best to wait for a bit for the treatment to take full effect.
- Day 7
Almost all the scabs should have fallen off. It may be safe to start applying total mineral sunscreen and makeup again unless there are still many scabs present. When in doubt, contact your treatment provider.
The Second Week
By the second week following the treatment, the area is still not fully healed, but it will look like it. At this point, there should be no more scabs on the treated area. However, you may experience a stinging sensation when washing your face or applying creams. The treated area may also appear pinker than usual and feel tender to the touch.
Weeks 3-4 & Beyond
In the third and fourth week, the treated area may still be a little tender and pink, but it will be less noticeable in comparison to the second week.
By month 2, all tenderness and discoloration should be gone. The results will also be much more noticeable. You are now fully healed!
How To Speed Up & Help With The Plasma Pen Healing Process
Now that we’ve seen what the Plasma Pen healing process day by day timeline looks like, it’s time to talk about the most important do’s and don'ts to remember during the entire process. Following these tips will ensure that the area will heal as fast as possible and help you avoid any unnecessary side effects along the way:
Do: Avoid The Sun
For the next three months after treatment, avoid direct exposure to the sun as much as possible. Even with sunscreen, you may run the risk of developing hyperpigmentation in the area. If you must go out in the sun, wear a wide-brimmed hat to shade your face.
Don’t: Use Makeup or Creams
Avoid using makeup until the area is fully healed. The same goes for any type of cream unless it’s specifically to help with the aftercare process. Applying makeup or cream on the treated area may lead to the growth of bacteria, which can disrupt the healing process and may even cause infection.
Do: Keep Your Laundry Clean
Make it a point to wash your linen regularly, especially the pillowcase that you sleep on every night. The same goes for towels you use on your face. Doing so helps avoid getting bacteria on the sensitive skin of the treated area.
Don’t: Scratch or Pick at The Scabs
Scabs form to protect the skin underneath from infection and scarring. If you pick at the scabs, you are increasing the likelihood of letting bacteria enter the skin as well as allowing scars to form. Let the scabs fall off on their own.
Do: Be Careful When Handling Your Skin
Until the area is fully healed, always be careful when handling your skin. Be gentle when washing, applying prescribed topical creams, and drying your face. You want to avoid agitating the tender skin even further or accidentally ripping off the scabs.
Don’t: Use Saunas or Tanning Beds
It is not recommended to use saunas or tanning beds until the 12th-week mark. Like going out in the sun, doing so can lead to hyperpigmentation.
Do: Communicate With A Dermatologist If Necessary
If you develop side effects other than the ones we’ve mentioned above (scabbing, swelling, slight pain and discomfort, pinkness), don’t hesitate to contact a dermatologist. The same applies if your side effects last longer than they should. Refer to the timeline to see if you’re on the right track.
Don’t: Use Ice Packs
It might be tempting to use ice packs to reduce the swelling, but what this does is delay the healing process. Allow swelling to occur and fade naturally; it should not last for more than five or six days.
Do: Take Vitamin C
Taking Vitamin C supplements can give your immune system a boost and help speed up the healing process. If you wish to increase your Vitamin C intake with food, go for citrus fruits, broccoli, potatoes, Brussel sprouts, and other fruits and vegetables with high levels of Vitamin C.
Final Thoughts On Plasma Pen Aftercare
The Fibroblast Plasma Pen is the best non-invasive treatment to get rid of wrinkled, loose, and saggy skin. And as you know by now, the healing process is easier, less uncomfortable, and much quicker than any other cosmetic treatment out there. In as little as two months, you can see drastic improvements in your skin’s condition!
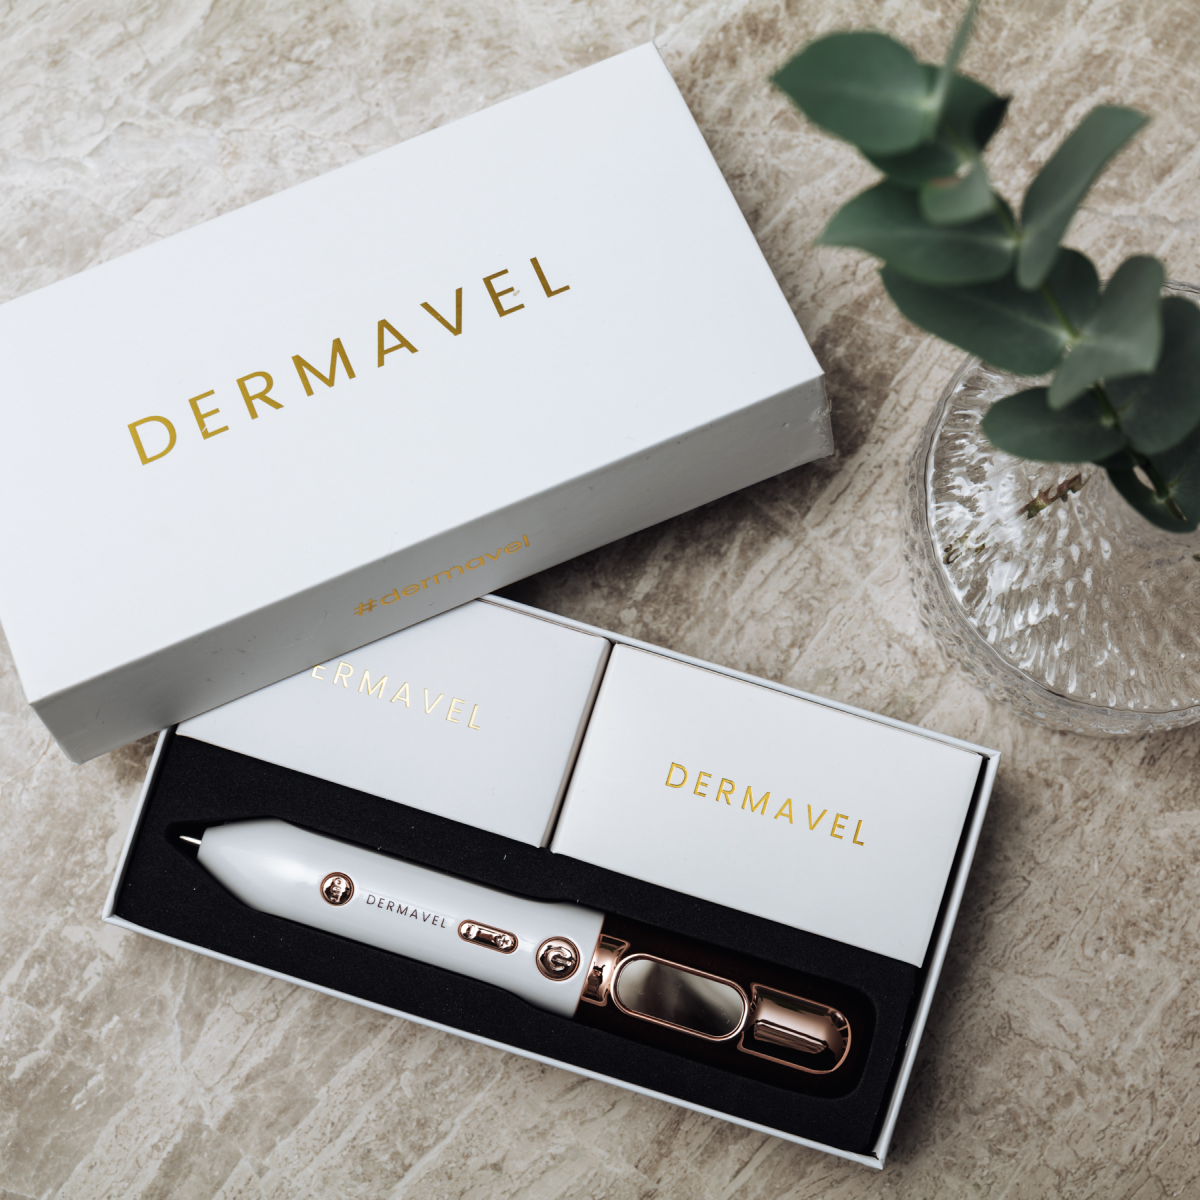
If you want to try this revolutionary treatment, Dermavel’s Plasma Pen is the best on the market. Buy yours today and find out how you can revitalize your skin from the comfort of your own home.
Products in this article:

Fibroblast Plasma Pen


